转载:SQL Server LocalDB Getting Started Guide
# Problem
In a previous tip, I walked through installation and some caveats with the first version of SqlLocalDb, which shipped with SQL Server 2012. Well, it’s been several major releases, and some of the aspects have changed, so I thought I would provide a refresh.
The purpose of SqlLocalDb has remained constant: To provide developers with an easy way to develop with SQL Server locally, on Windows, without the overhead, security, and maintenance of a full-time, proper instance. But for anyone who has used SQL Server and is new to SqlLocalDb, a few of the details are unintuitive.
# Solution
The first step is making sure you’re on a supported operating system (Windows 8 / Server 2012 or above), and then download the SQL Server Express Edition installer here. I am using Windows 10 in these examples; if you are using Windows 8 or Windows Server 2012, make sure to consult KB #2681562 : Installing SQL Server on Windows Server 2012 or Windows 8. If you’re using Linux, sorry, but I think you’re out of luck.
# Step 1: Install Microsoft SQL Server Express Localdb
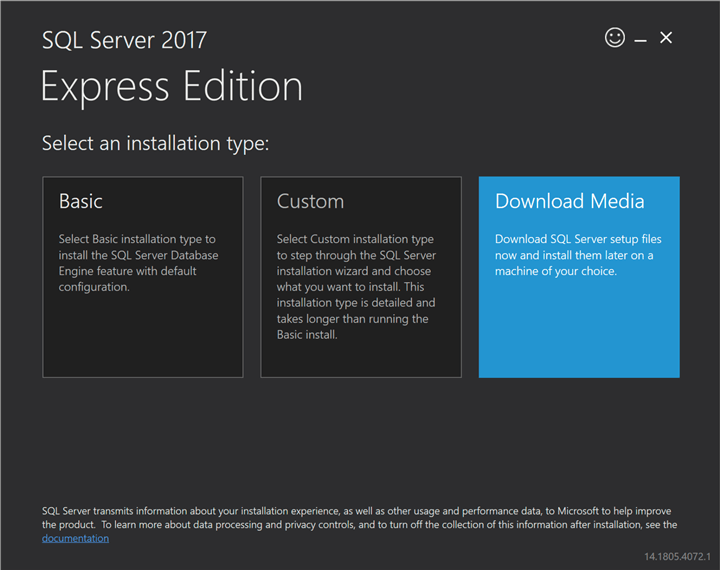
To get just the SqlLocalDb MSI (45 MB) vs. the whole enchilada (700+ MB), choose the “Download Media” option to start downloading:
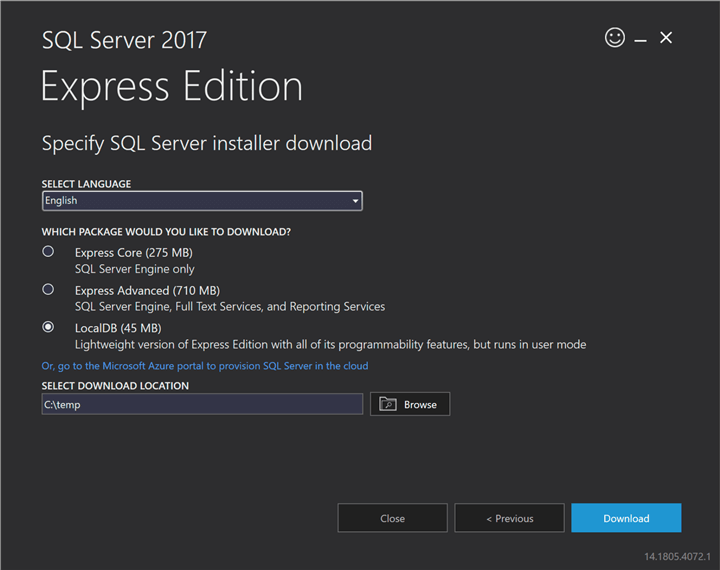
Pick your language, choose the LocalDB option, and pick a location to download the MSI:
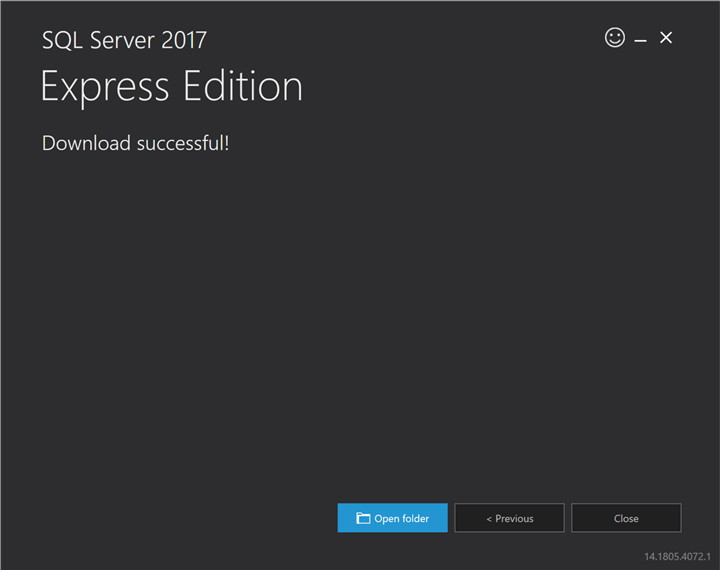
Then you’ll get a very big dialog to indicate success. Choose the Open Folder option:
The folder will open, and you will see SqlLocalDB.msi. Launch this executable to start the wizard:
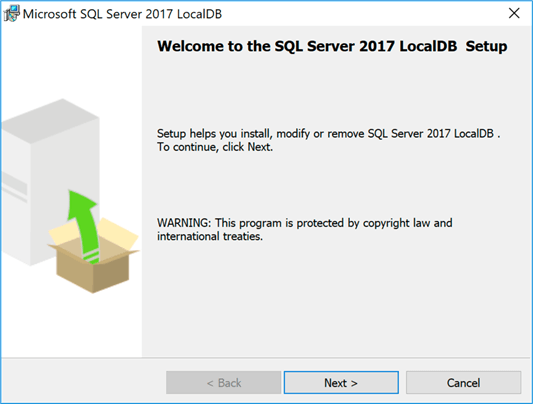
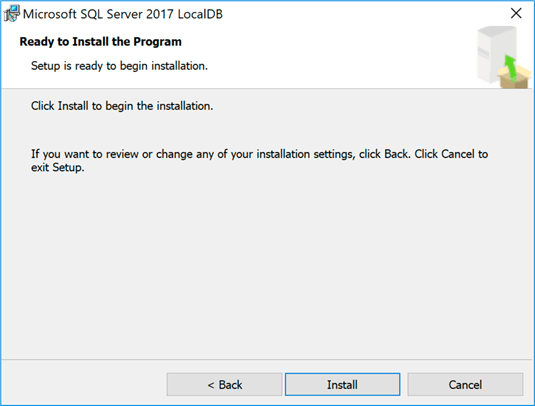
You’ll have to accept a license agreement and then on the next screen click Install:
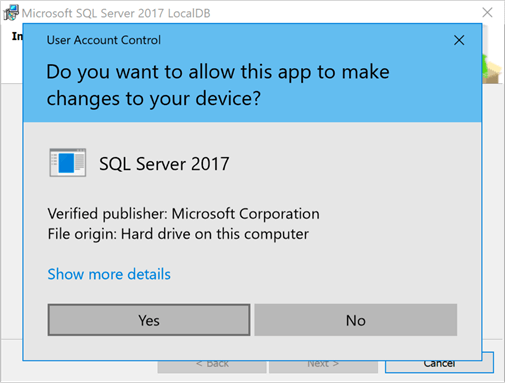
At some point you will probably be prompted by UAC controls:
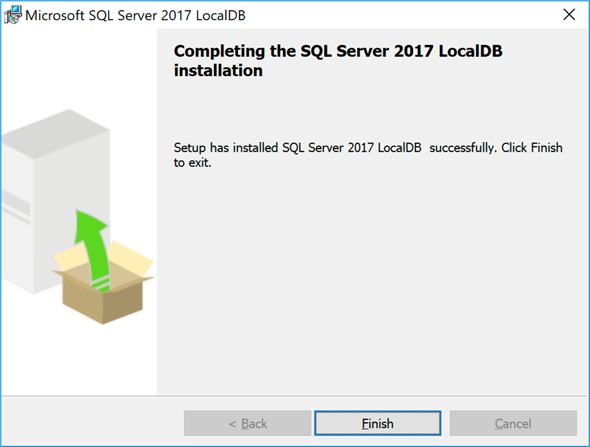
Then it will finish:
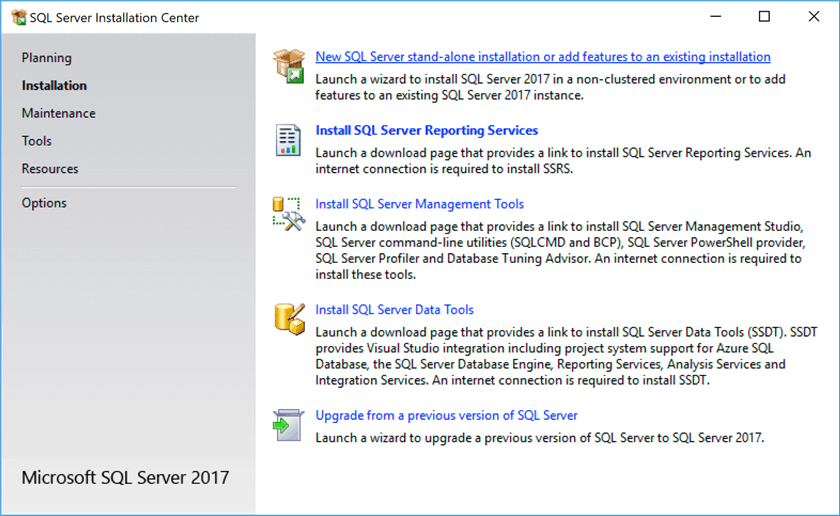
Alternatively, if you already have a valid SQL Server 2017 install media, you can install SqlLocalDb from that installer, and avoid downloading the media above. Run Setup.exe and from the Installation Center choose “New SQL Server stand-alone installation or add features to an existing SQL Server 2017 instance.”
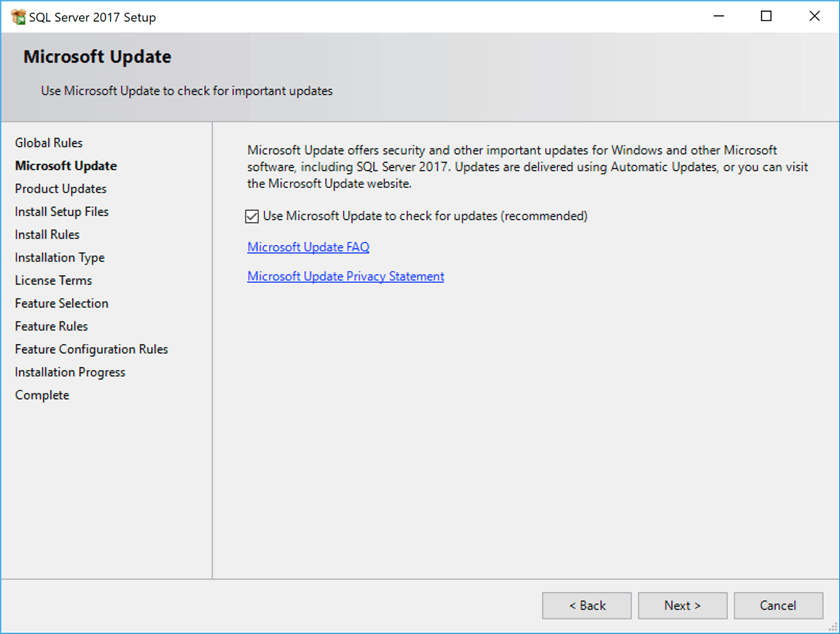
Next, you’ll be offered to include any important updates (you should check this box unless you are on a very slow Internet connection – but don’t worry, we’re going to patch this installation with the latest Cumulative Update anyway):
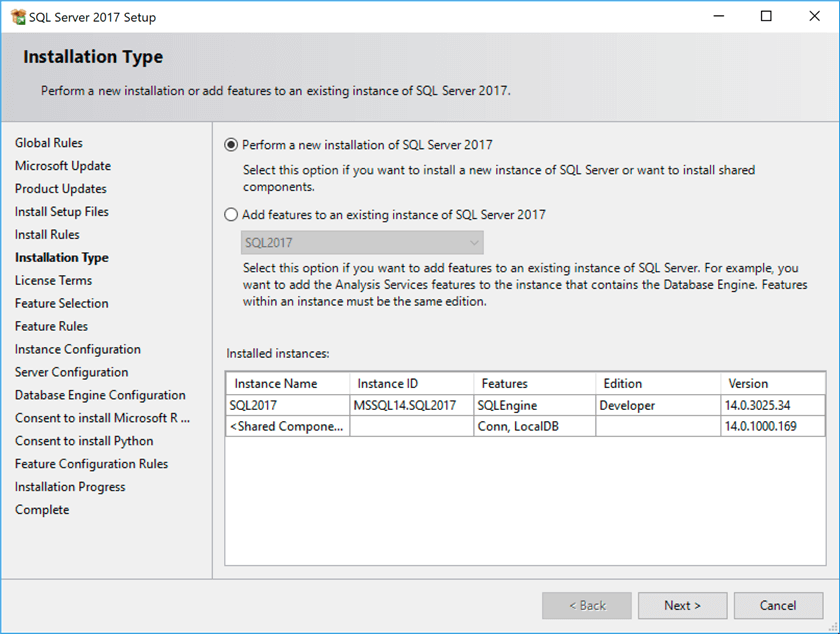
Next, you’ll choose the type of installation to perform; you want “a new installation of SQL Server 2017,” even though that choice may not be the most intuitive:
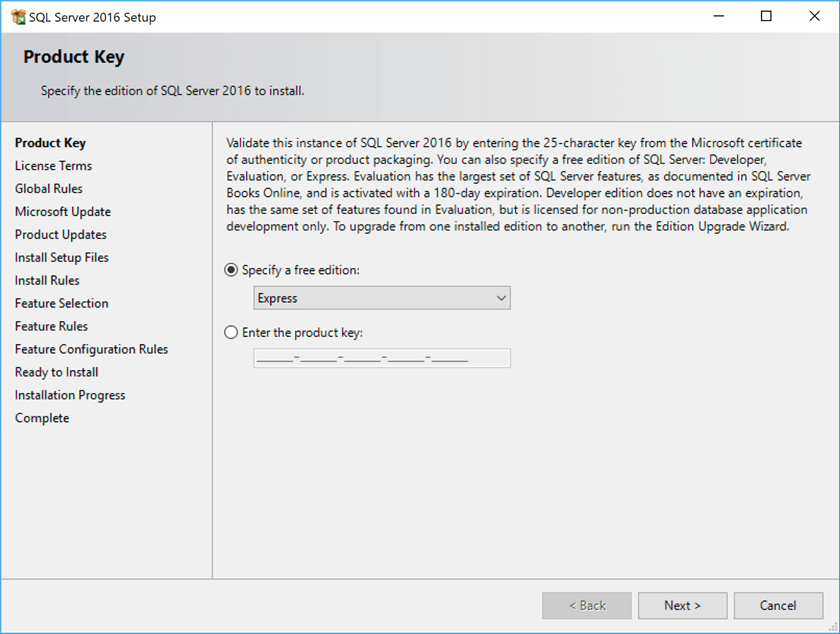
You’ll have to accept the license terms in a new dialog, and then you’ll be asked for a product key. Here, just select the free Express Edition (other editions won’t offer a LocalDB installation):
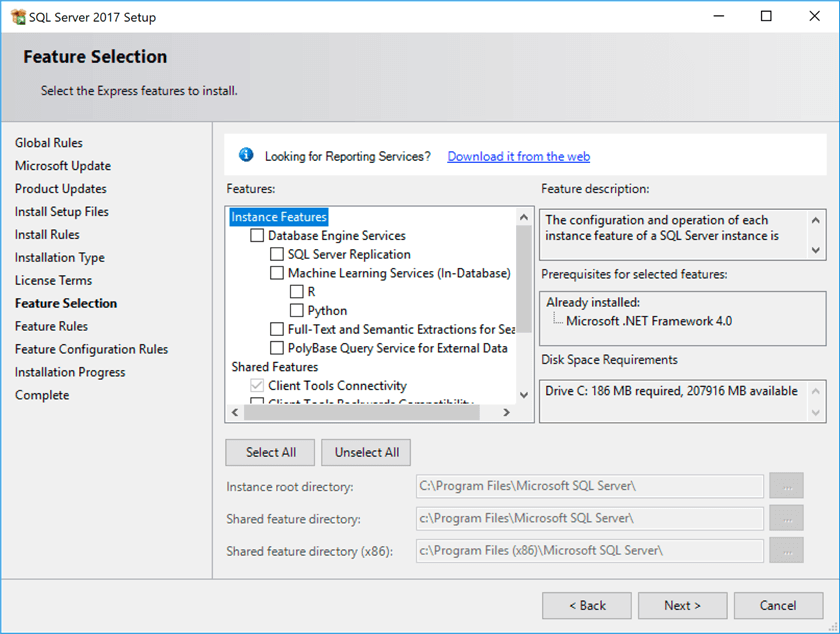
Then on the Feature Selection screen, make sure you un-check the Database Engine Services option, which is selected by default (unless you also want to install a full-on SQL Server 2017 instance).
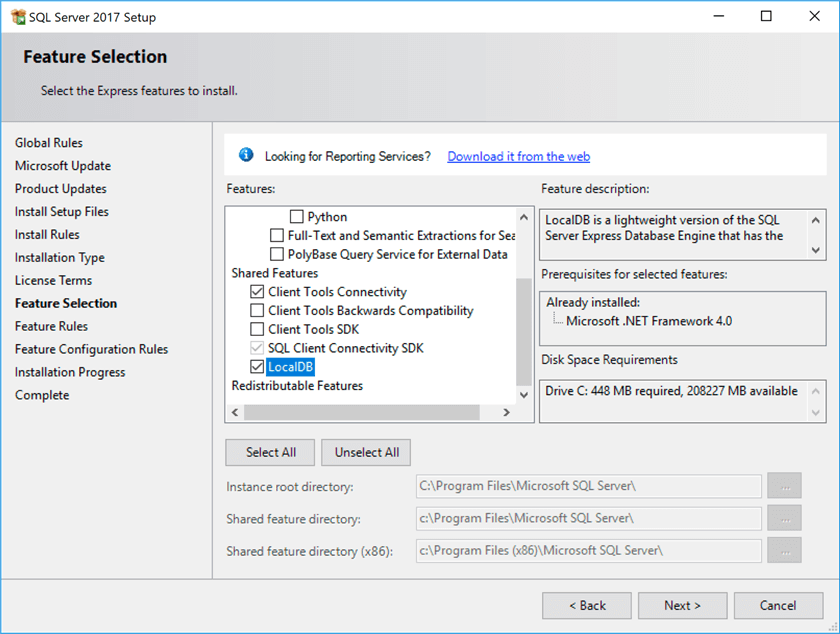
Then scroll down and select the LocalDB option (I also selected Client Tools Connectivity).
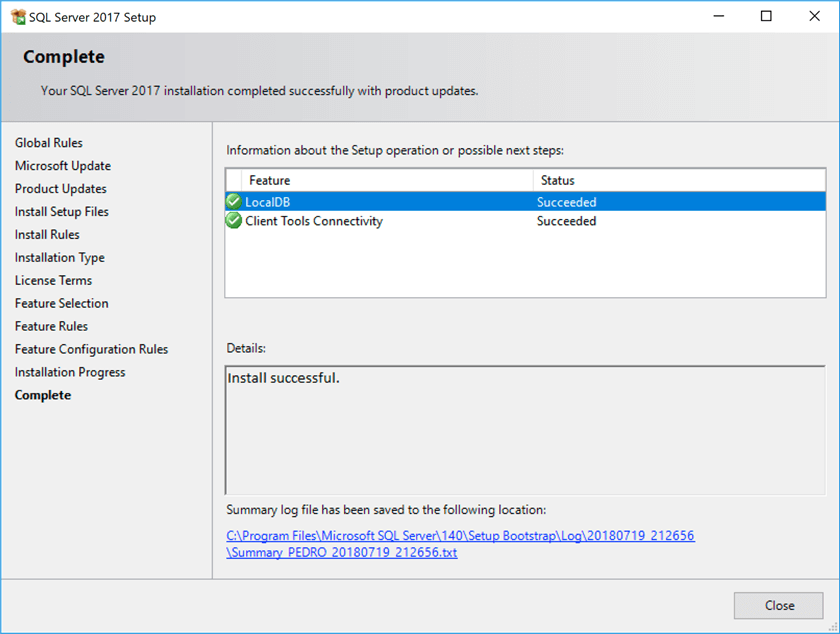
Click Next, Install, and then you should have this:
# Step 2: Patch Microsoft SQL Server 2017
Before you get started using SqlLocalDb, you should patch SQL Server 2017 to the latest Cumulative Update. The reason is that there was initially a critical bug that prevented the creation of database files due to a missing slash in the file path.
This problem was fixed in CU #6 (see KB #4096875), but at the time of writing, the latest Cumulative Update available was CU #9. You should typically use the latest CU available; you can always get the latest CU here.
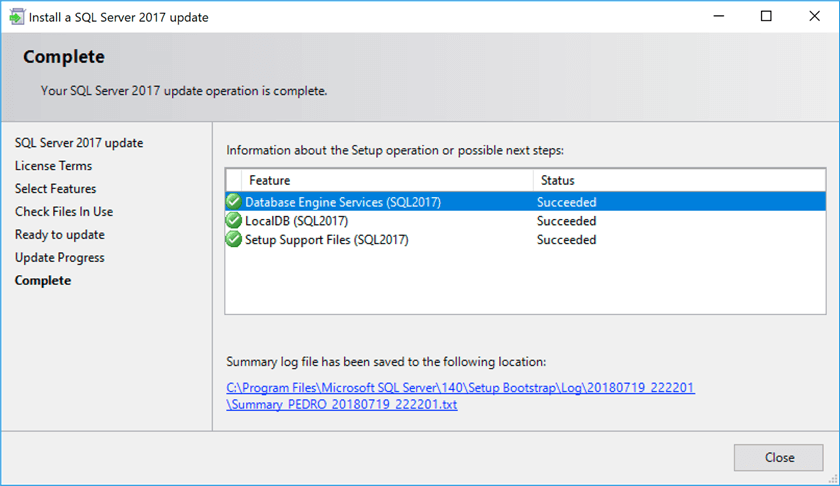
At the beginning of the install it will not indicate anything about SqlLocalDb, but just check all the boxes you can and proceed. At the end you will see confirmation that SqlLocalDb has been patched (in this case I also updated a SQL Server 2017 instance from CU #8 to CU #9):
# Step 3: Install client tools and/or SQLCMD and/or PowerShell
If you don’t already have SSMS, or another way to connect to the SQL Server database, you’re not going to get very far. Rather than guide through the full installation I’ll just point you to the locations to get the most recent versions:
- Latest version of Management Studio (17.8.1 at time of writing):
https://docs.microsoft.com/en-us/sql/ssms/download-sql-server-management-studio-ssms - Latest version of SQLCMD (Command Line Utilities 14.0 at time of writing):
https://www.microsoft.com/en-us/download/details.aspx?id=53591 - Installing Windows PowerShell:
https://docs.microsoft.com/en-us/powershell/scripting/setup/installing-windows-powershell
# Step 4: Create an localdb instance via SQLLocalDB Command Line
At the command line, you can interact using the SqlLocalDb utility to configure the instance of localdb. Start with getting information about the installation:
1 | C:\> SqlLocalDb info |
Result:
1 | MSSQLLocalDB |
This used to return the localdb version number (in the original article, and with the 2012 release, this returned v11.0).
Next, you can create an instance with the following command:
1 | C:\> SqlLocalDb create "MyInstance" |
Result:
1 | LocalDB instance "MyInstance" created with version 14.0.3030.27. |
Check the info:
1 | C:\> SqlLocalDb info "MyInstance" |
Result:
1 | Name: MyInstance |
The Instance pipe name may come in handy later, though I’ve found that a lot of the connectivity issues in earlier versions of this feature have gone away. Also, in older versions you had to explicitly start the instance, but it now starts automatically.
If you want to stop and drop the instance, use:
1 | C:\> SqlLocalDb stop "MyInstance" |
But don’t do that just yet. Evidence that this all works so far:
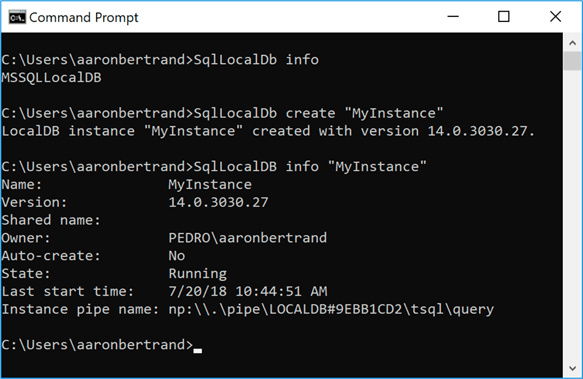
# Connection String for SQLCMD
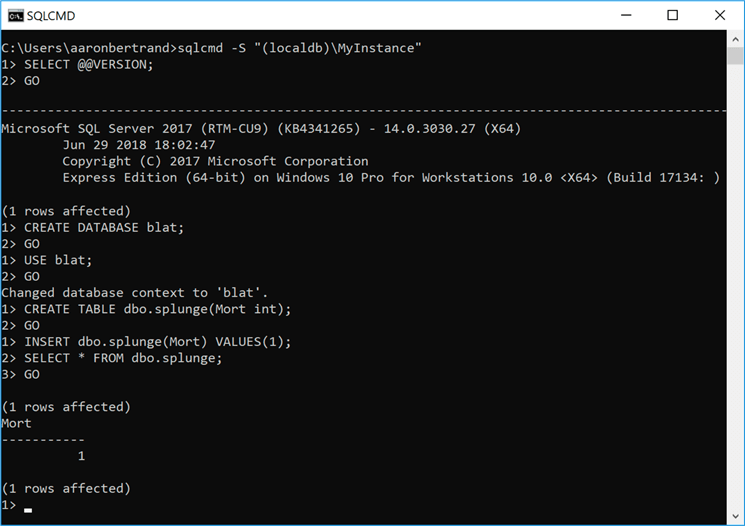
Locate SQLCMD, making sure to use the newest version on your machine (your environment path may list an older version first). Look for the highest version in the Binn folders under C:\Program Files\Microsoft SQL Server\Client SDK\ODBC[version]\Tools. You can connect to this instance using Windows authentication with the following code at the command line:
1 | sqlcmd -S "(localdb)\MyInstance" |
Then we’re greeted with a line number prompt and can enter sql code on-demand. So something like:
1 | SELECT @@VERSION; |
Yields:
# Connect using Microsoft SQL Server Management Studio
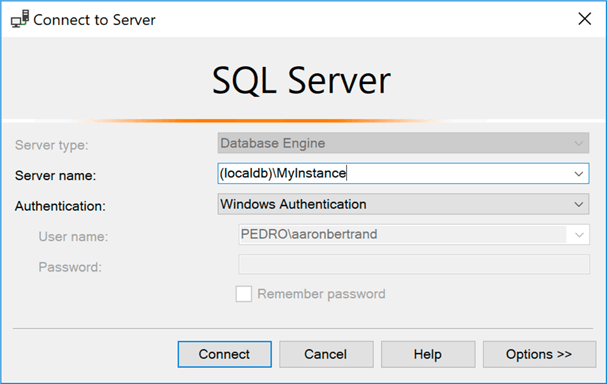
Like with SQLCMD, you can connect using (localdb)\MyInstance from SSMS as well (in older versions you needed the pipe name I mentioned above):
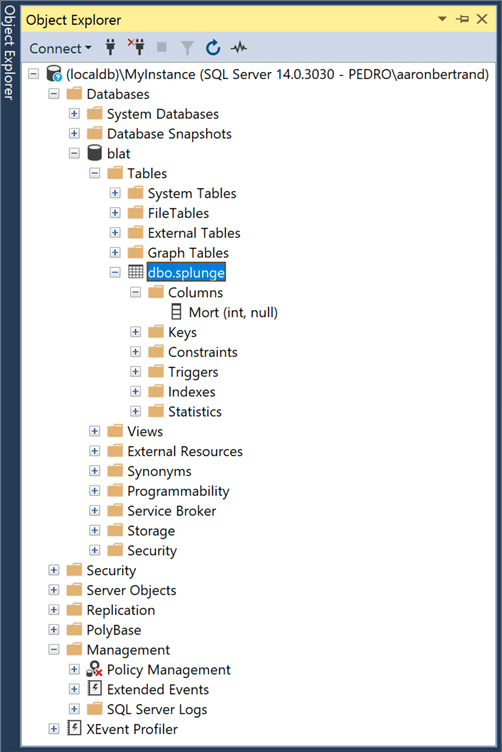
When you open Object Explorer, you’ll see the database and table we created, and you can interact with the instance just like any other SQL Server instance (with obvious exceptions, for example there is no SQL Server Agent node under Management):
# Connection String using PowerShell
Modern versions of PowerShell are also able to connect to LocalDB instances using the simple instance name format. With my default installation, though, I found I still needed to manually load SMO before it would connect and interact.
1 | [Reflection.Assembly]::LoadWithPartialName("Microsoft.SqlServer.Smo") | Out-Null; |
Proof it works:

# Conclusion
I hope this gives you a head start into playing with SqlLocalDb for local development. It can be a really useful way to build out a proof of concept or test a query or feature without installing a full-blown SQL Server instance.## Next Steps
- Download and install SQL Server 2017 Express LocalDB.
- Use the standalone engine for local development or proof of concept work.
- See these tips and other resources (some Microsoft links are older, but still relevant):
- Getting Started with SQL Server 2012 Express LocalDB
- Troubleshoot SQL Server 2012 Express LocalDB
- SQL Server Express blog
- SQL Server Express Versions
- All SQL Server Express Edition Tips
# Comments DBeaver connect SQLServer LocalDB
LocalDB conections · Issue #2959 · dbeaver/dbeaver
# jTDS Driver
-
Get the pipe name for your LocalDB instance
run
sqllocaldb info <name>to find the name of your db instanceto get Instance pipe name. You want the part that is LOCALDB#xxxxxxx to plug later. (if pipe name is empty and State is Stopped in info, run
sqllocaldb start <name>then get the info again. -
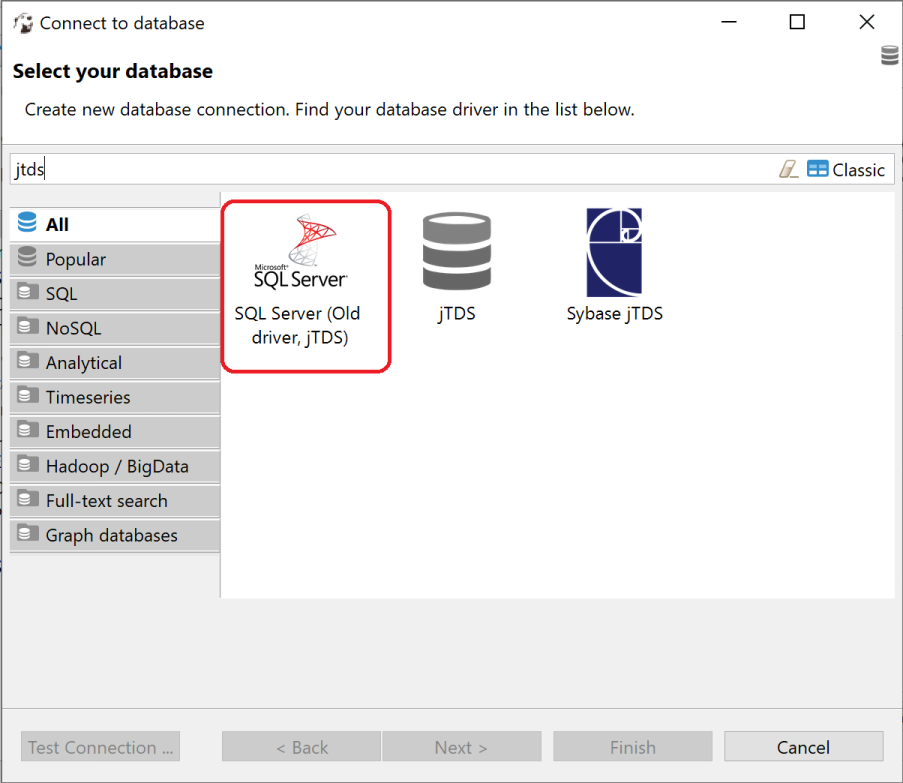
Add a new connection in DBeaver and choose the SQL Server (Old driver, jTDS)
![]()
-
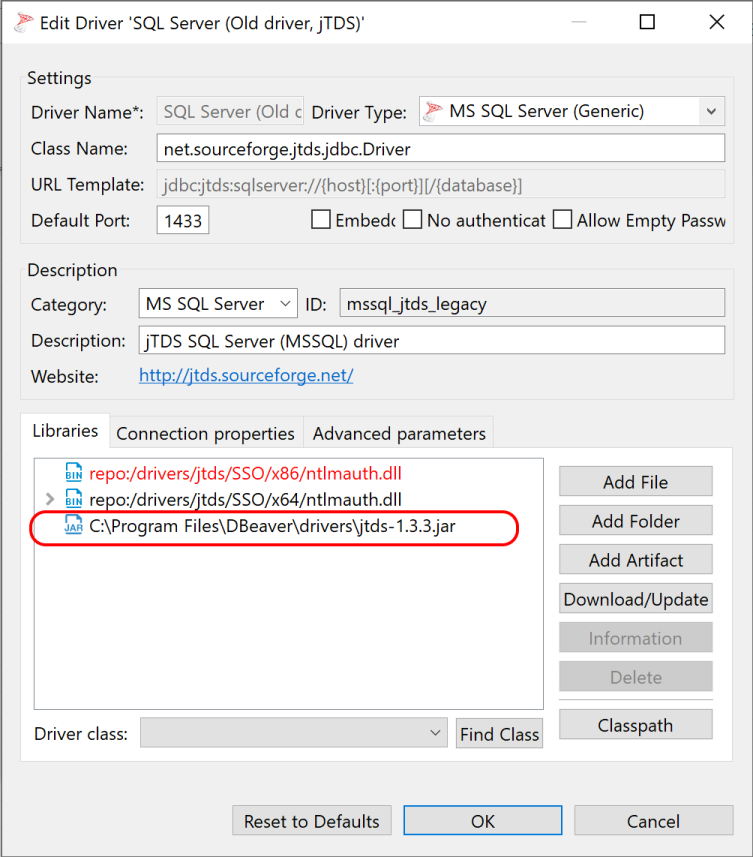
Download drivers as needed, then open Edit Drivers Settings
-
Remove the sourceforge jtds 1.3.1 driver from the list - it doesn’t support LocalDB named pipes
-
Download the 1.3.3 (or newer) driver that supports LocalDB named pipes from https://github.com/milesibastos/jTDS/releases
-
Extract the jtds-1.3.3.jar file from the archive and put somewhere handy (I suggest C:\Program Files\DBeaver\drivers - I created this directory)
-
Back in Driver Settings, click Add File and point to this new jar file, then close the Driver Settings
![]()
-
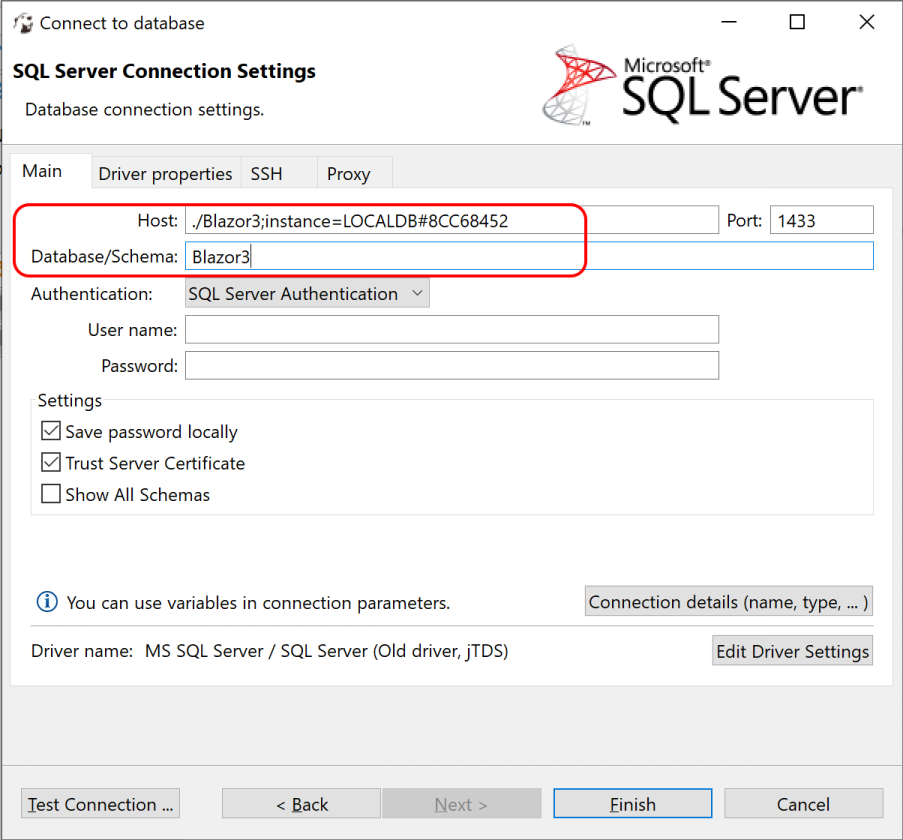
Set your host name to the format
./dbname;instance=LOCALDB#xxxxxxxwhere dbname is the name of your database and the instance is the value found fromsqllocaldb infocommand. Technically you don’t need to set the Database/Schema field(./;instance=LOCALDB#xxxxxxx), but I did anyhow. Blazor3 was my database name, use yours instead of this and of course the hex values after LOCALDB will be different for you as well.![]()
-
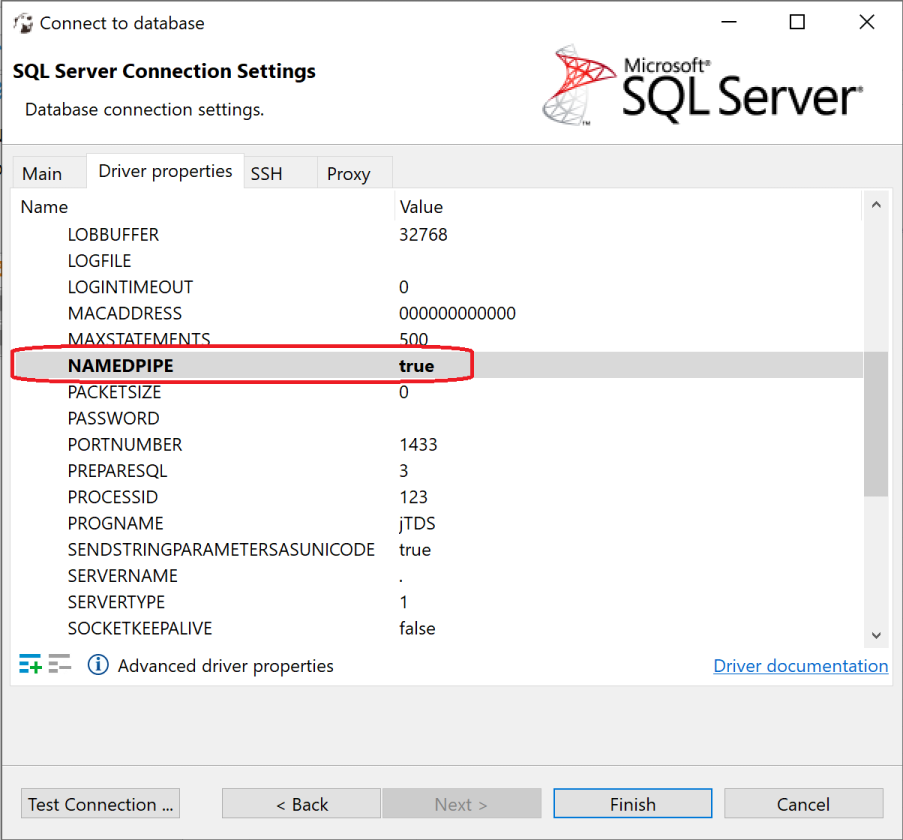
In Driver Properties tab, set NAMEDPIPE to true
![]()
-
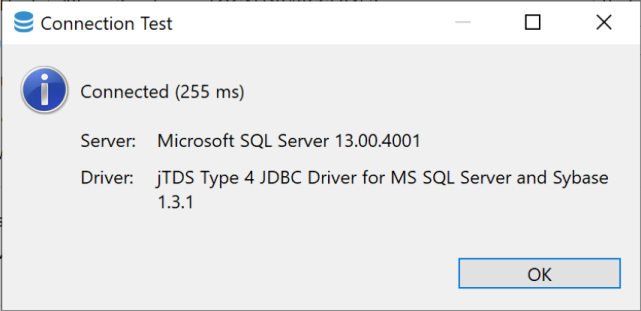
Try Test Connection… and you should be good to go!
![]()
# ODBC
I found a way to get DBeaver connected to localdb using ODBC, which persists across the localdb pipe name changes. You only need to have an ODBC Driver -- for SQL Server installed. Check it out:
-
First verify you have a SQL Server ODBC driver installed. To do this, go to the Windows Control Panel >> Administrative Tools >> ODBC Data Sources (x64) >> “Drivers” Tab. The driver I have on my machine is
ODBC Driver 17 for SQL Server. If you don’t have the driver, you can download it here: https://docs.microsoft.com/en-us/sql/connect/odbc/download-odbc-driver-for-sql-server?view=sql-server-ver15The driver will look like this:
-
Once you have the ODBC driver, go to DBeaver and create a new connection by choosing the “ODBC” option, and click Next:
-
Enter in the connection string as follows. Be sure to change the ODBC driver version number to the one that you have installed, as well as the localdb instance name:
Driver={ODBC Driver 17 for SQL Server};Server=(localdb)\mssqllocaldb -
Click “Test Connection” and see if it works. Hopefully you don’t have any problems. Let me know if this works well for you.
